How To Get The Perfect French Manicure At Home
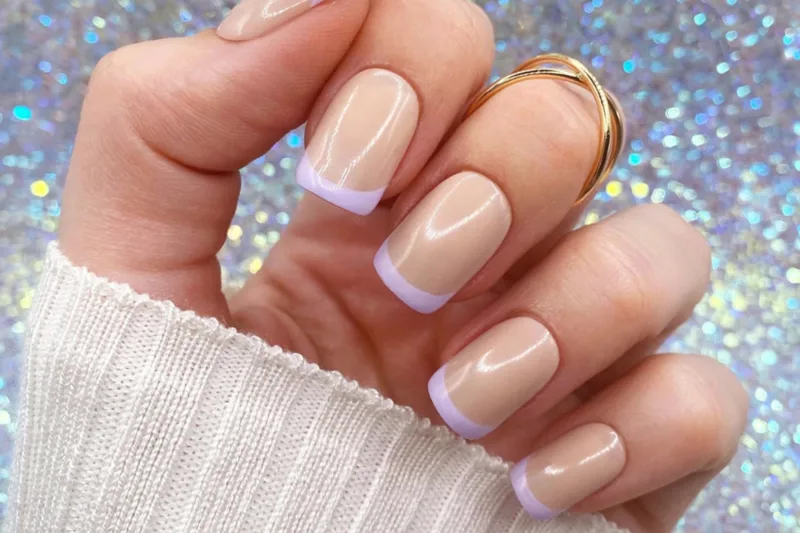
When it comes to nail art, there might not be anything more classical than a French manicure. It’s a simple look but is one that can be tough to pull off alone. Thankfully, it doesn’t have to be too challenging after learning how to get the perfect French manicure at home.
Of course, one of the best things about the look is how it goes with just about every outfit and can be worn for all kinds of events. As if that wasn’t enough, it’s been popular since the 1920s, meaning a French manicure has more than stood the test of time for a reason.
1. Start by shaping your nails
There are so many different shaped nails that offer different finishes, but a French manicure is about more than the color; it’s about a clean look that’s entirely put together. It’s also typical to opt for a rounder shape when painting a French manicure. Start by cleaning off any old nail polish and cleaning your hands and cuticles. From there, cut and shape your nails into an almond shape for a classic look or something squarer if you want something a little different.
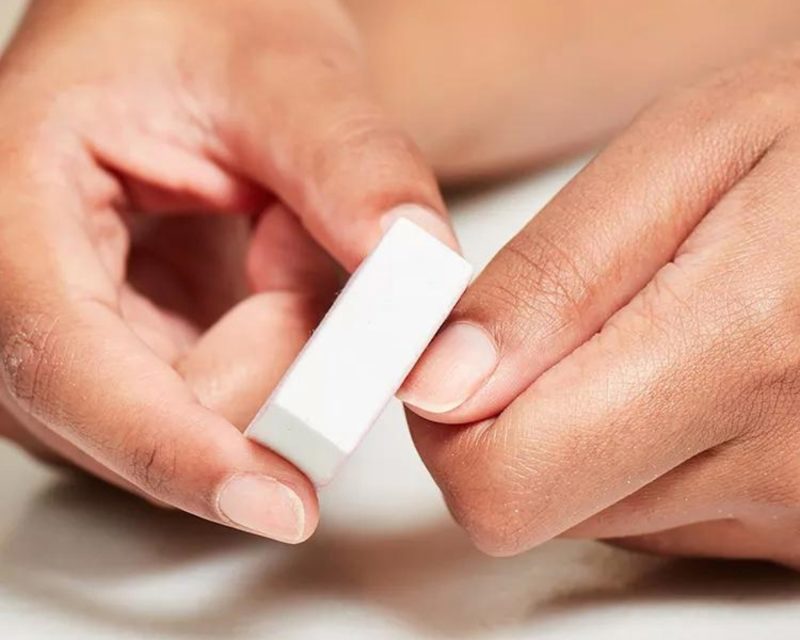
2. Hydrate your nails after buffing the nail plate
Did you know that buffing your nails can help your polish to look better and last longer? You don’t need to be rough; just a gentle buff will do. Be sure to focus around the cuticles before soaking your fingers in oil. This helps them to soften up so they can be pushed back. Finally, be sure to exfoliate and moisturize your hands and remove any cream from your nails by using a nail polish remover on a cotton pad or bud.
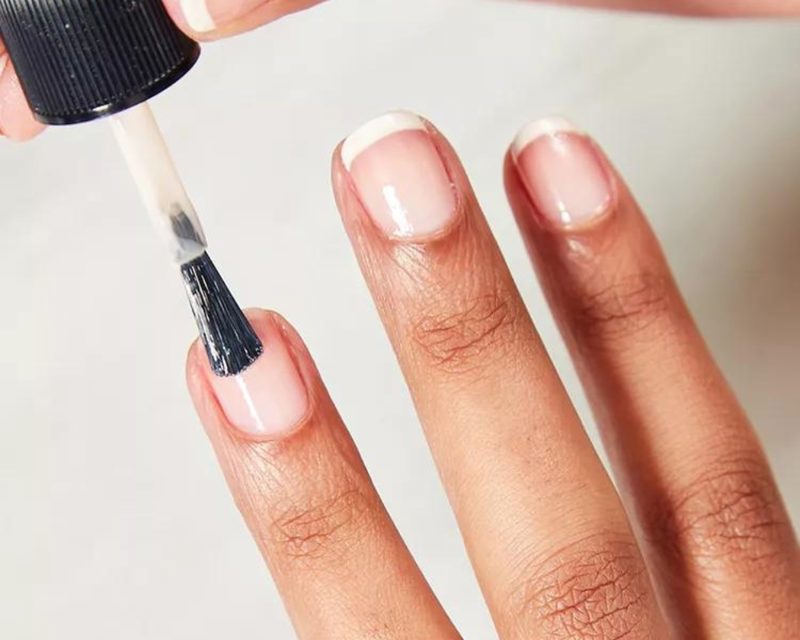
3. Apply a base coat to keep everything in place
The key to any home manicure is to apply a base coat. This helps to create an even surface and to keep everything in place once you start on the manicure. French manicures are more about a classic look than anything too creative, so be sure to opt for a clear base coat. This can also help to prevent your nails from getting stained by any colored nail polish. Apply a thin layer and allow it to dry.
4. A neutral shade helps the French manicure pop
A French manicure isn’t just about the tips - it includes the entire nail. A great way to help the tips pop even more than before is to opt for a neutral shade over your entire nail. Try to pick something as close to the natural color of your nail bed as possible, such as a light pink, and apply a couple of coats as needed. This will also even out any previous staining that might already be on your nails.
5. Use tape to paint the tips of your nails
Once your base coats are dry, it’s time to focus on the tips of your French manicure. If you have a steady hand, you might be able to get away without using tape. However, there’s no harm in using a guide. Special nail tape can be found in plenty of stores, with the curve following the natural shape of your nails. Gently stick these along your now-dry nails, leaving an equal distance between the tape and the end of your nail each time. Finally, grab your white nail polish and gently fill the exposed tip of each nail. Allow your polish to dry before removing the tape.
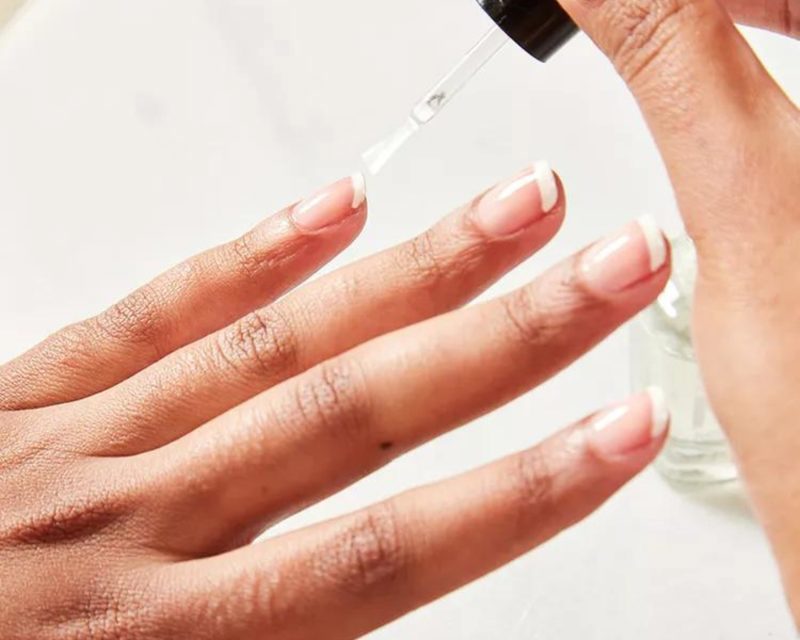
6. Round off the tips and finish with a top coat
If you want a crescent shape over a straight line, you might need to round out the tips of your French manicure. All you need to do is use a fine nail brush or a cotton swab gently dipped into the white polish to add as much as necessary to the side of the line. Once everything is completely dry, apply another clear coat to keep everything in place, and voila! You’re done.
Learning how to get the perfect French manicure at home might sound daunting, but it doesn’t have to be tough, especially when you know the helpful tips and tricks to get things just right. Who said we needed an expensive salon visit to get the look we want?
You May Also Like
 Business
How Social Media Shapes Our Product Expectations
 Fashion
The Rise of Refillable Beauty Packaging
 Fashion
Why Beauty Dupes Are Such a Big Conversation